Photo to cross stitch
Photo to Cross Stitch Pattern Converter
Choose a photo (or a sample), frame it, pick a size and a colour count, and get a stitchable chart you can edit, print and track. Your photo never leaves this device.
Choose a photo
JPG, PNG or WebP, up to 25 MB. Processed on your device and never uploaded.
You can also drop a file here or paste an image with Ctrl+V (⌘+V on Mac).
Loading the converter…No photo handy? Try a sample
Sample photos are licensed from Pixabay (see Licenses).
What the converter actually produces
These are real outputs of this tool from licensed sample photos, not mock-ups. The middle image is the chart; the right one simulates stitches on fabric.
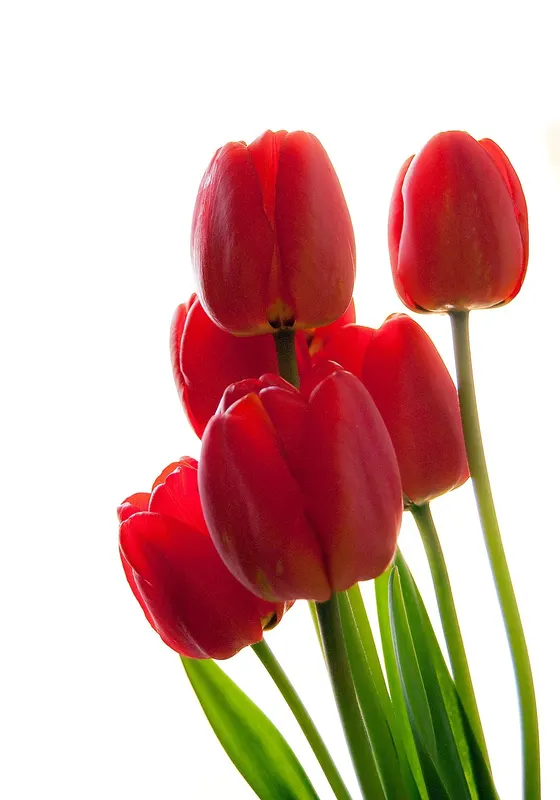
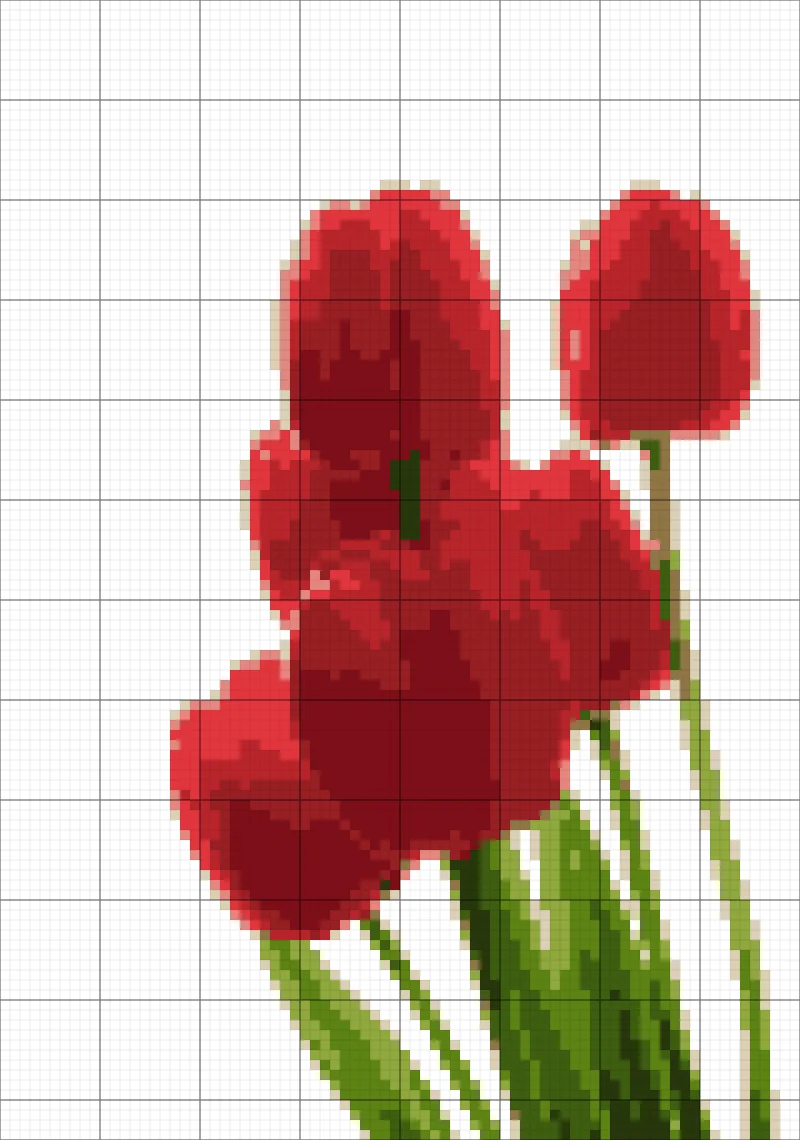
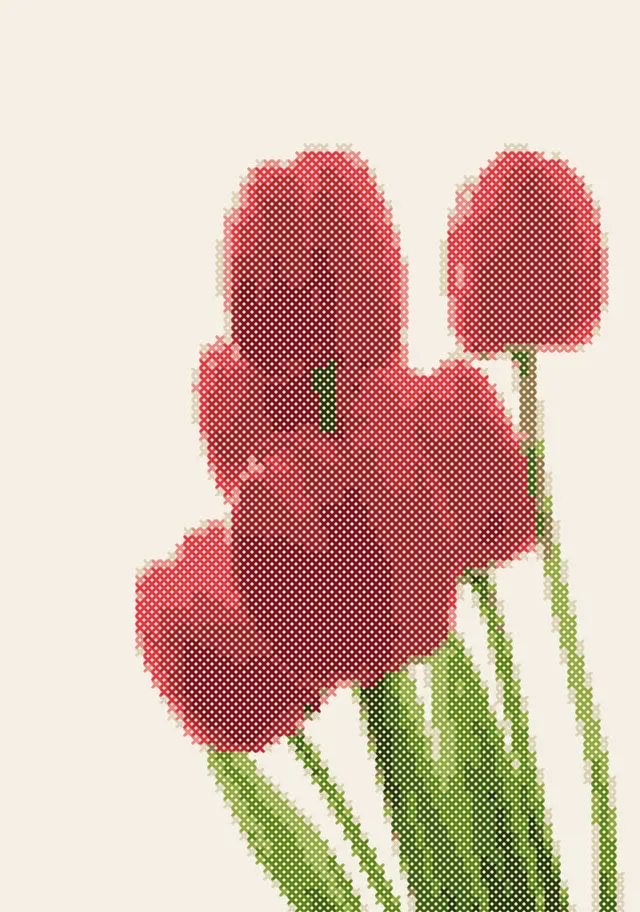
How to turn a photo into a cross stitch pattern
- Pick a clear photo. One main subject, good light and a plain background convert best. Busy scenes turn into scattered single stitches.
- Frame it. Open Crop & rotate, choose Square, 4:5 or Free, and drag the frame tight around the subject. Rotation is applied once; phone photos already appear the right way up.
- Choose the width. Small (60), Medium (100) and Large (150) are good starting points. The height follows the photo’s proportions.
- Set the colour limit. Start around 12–16 and look at the result. Fewer colours mean fewer thread changes.
- Remove the background by marking its colour as “No stitch” if you only want the subject.
- Match to DMC if you like: tick “Use DMC thread colours” and the key will list real floss codes.
- Open in the Studio to tidy details, run the Stitchability Check and export a PDF. Then use the tracker as you stitch.
Settings that matter most
| Pattern width | 11-count | 14-count | 16-count | 18-count |
|---|---|---|---|---|
| 60 stitches | 5.5 in | 4.3 in | 3.8 in | 3.3 in |
| 100 stitches | 9.1 in | 7.1 in | 6.3 in | 5.6 in |
| 150 stitches | 13.6 in | 10.7 in | 9.4 in | 8.3 in |
Finished size is the stitched area only; add 2–3 inches of fabric on every side for framing. See Aida count and finished design size for the full method.
Photo mode or pixel-art mode?
Photo mode averages every source pixel that falls inside a stitch, which smooths noise and suits photographs. Pixel-art mode samples the centre of each stitch exactly, so sprites and icons keep hard edges and their exact colours. If your image is pixel art, use the pixel art to cross stitch page.
Dithering
Dithering (Advanced) mixes neighbouring colours to suggest smooth gradients. It can look good on screen but creates many isolated stitches, so it is off by default.
Honest limitations
- Faces need around 100+ stitches wide and good lighting to stay recognizable; tiny details like eyelashes disappear at small sizes.
- The colour reduction is automatic. It may merge two colours you care about; raise the limit or recolour in the Studio.
- Colours on screen are not thread colours. DMC suggestions are the nearest reference colour, and printing and floss will still look different (why).
- Background removal is manual: you choose which colour becomes bare fabric.
Frequently asked questions
Is my photo uploaded anywhere?
No. The photo is decoded and converted inside your browser by a background worker. It is not sent to a server, and it is not stored with your project unless you save the chart, which keeps only the stitch grid.
How many stitches wide should my pattern be?
For a recognizable portrait or pet, 100–150 stitches wide is a common range. Simple objects such as a flower or a cup often read well at 60–80. Divide the width by your fabric count to get inches: 100 stitches on 14-count Aida is about 7.1 inches.
How many colours should I choose?
Start with 10–16 for photos. More colours add subtle shading but also more thread changes and more isolated single stitches. The tool shows how many colours it actually used, which can be fewer than your maximum.
Will the colours match my embroidery floss?
Approximately. Each colour lists its nearest DMC floss, and ticking “Use DMC thread colours” snaps the whole chart to real DMC shades (colours that land on the same thread are merged). Thread still looks different under different light, so check key colours against a shade card before buying a lot of one skein.
Can I use a photo from my phone camera or a screenshot?
Yes. On a phone, “Take a photo” opens the camera directly. On a computer you can drop a file onto the box or paste a copied image or screenshot with Ctrl+V (⌘+V on a Mac). Either way the image stays on your device.
Can I remove the background?
Yes, manually. In the colour list, choose “No stitch” on the background colour to leave those squares as bare fabric. In the Studio you can also erase areas or make any colour no-stitch, and every change can be undone.
What is the largest pattern I can make?
The converter allows up to 300 × 300 stitches. Very large charts are slower to edit on phones; 150 × 150 is a comfortable size on most devices.